Adding and Assigning Downtime and National Holidays
Within ControliQ Downtime is a resource category that allows team members to capture time that they are contracted to work but are unavailable to do so such as periods of annual leave or sick leave.
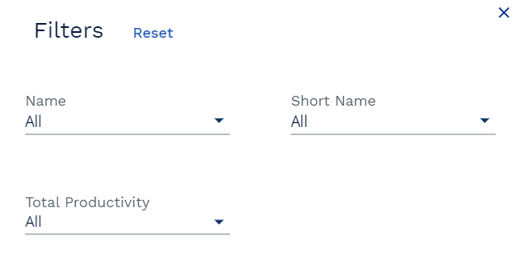
When you select the Downtime link within the Add/View section of the Admin screen you will see a list of all of the Downtime Categories that have already been created.

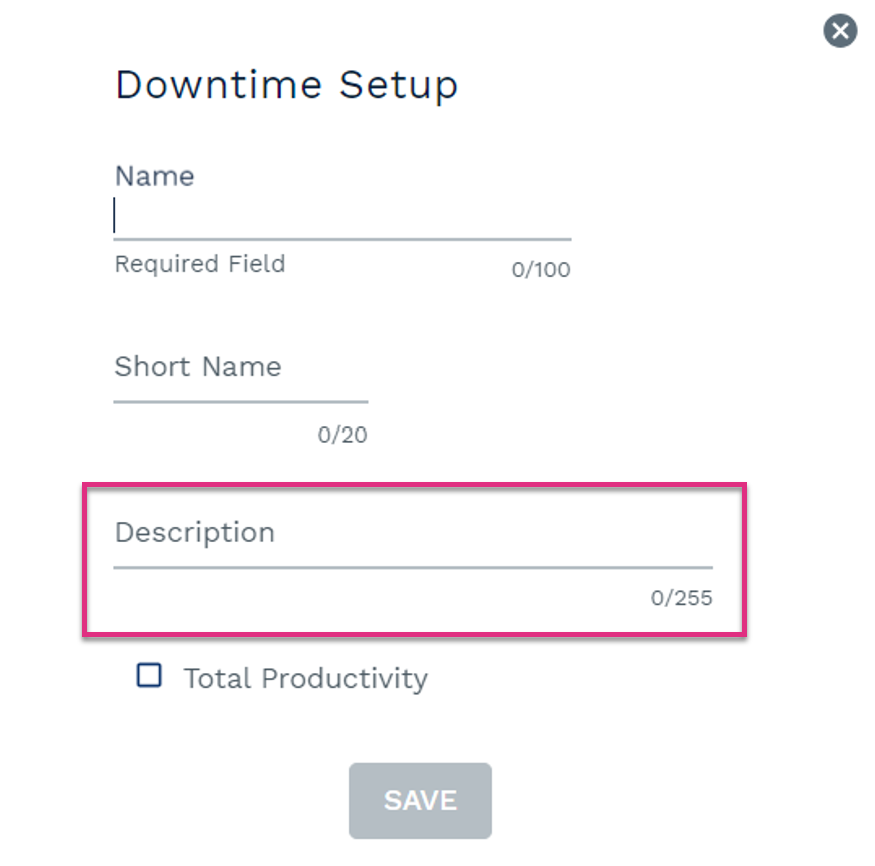
Name
Short Name
Description
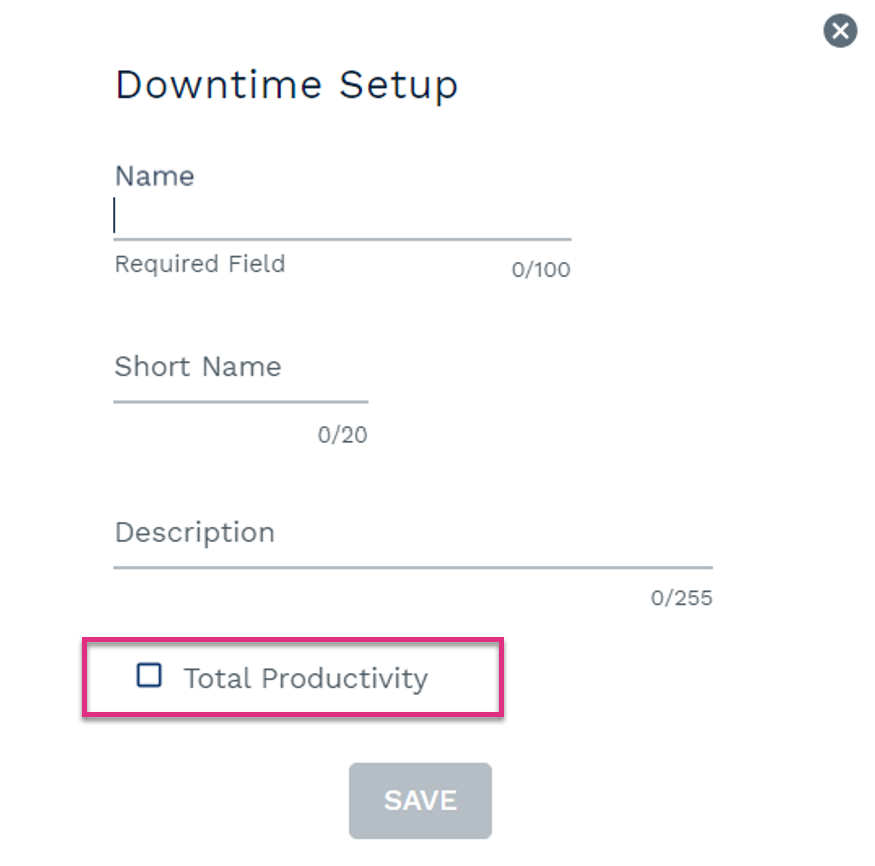
Total Productivity
|


|
|


|
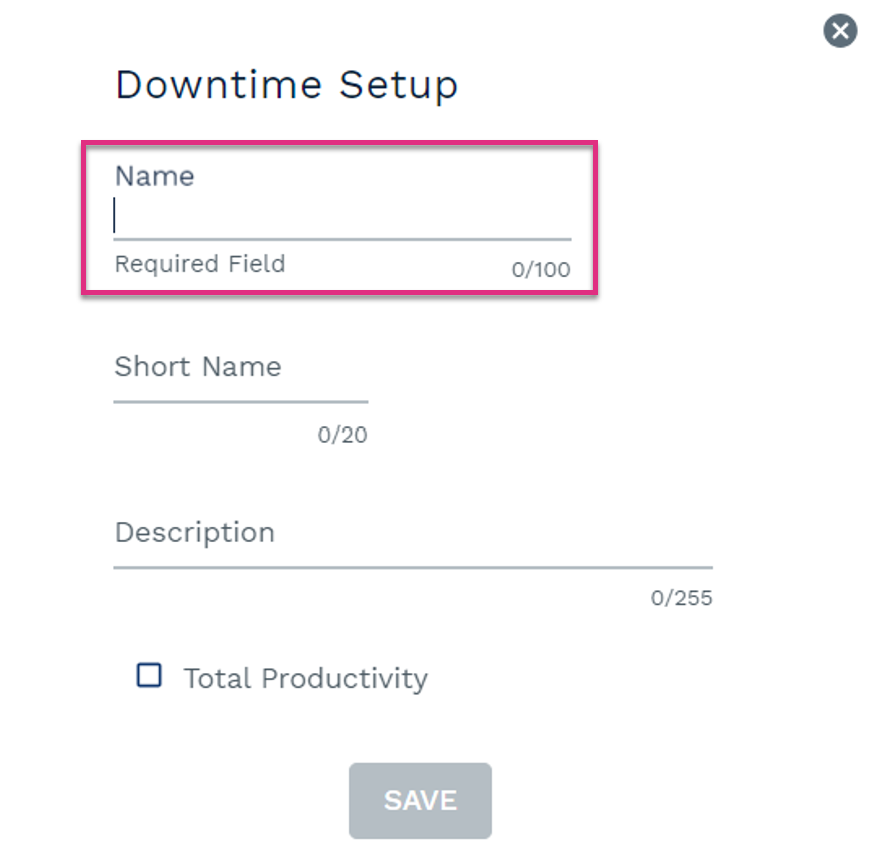
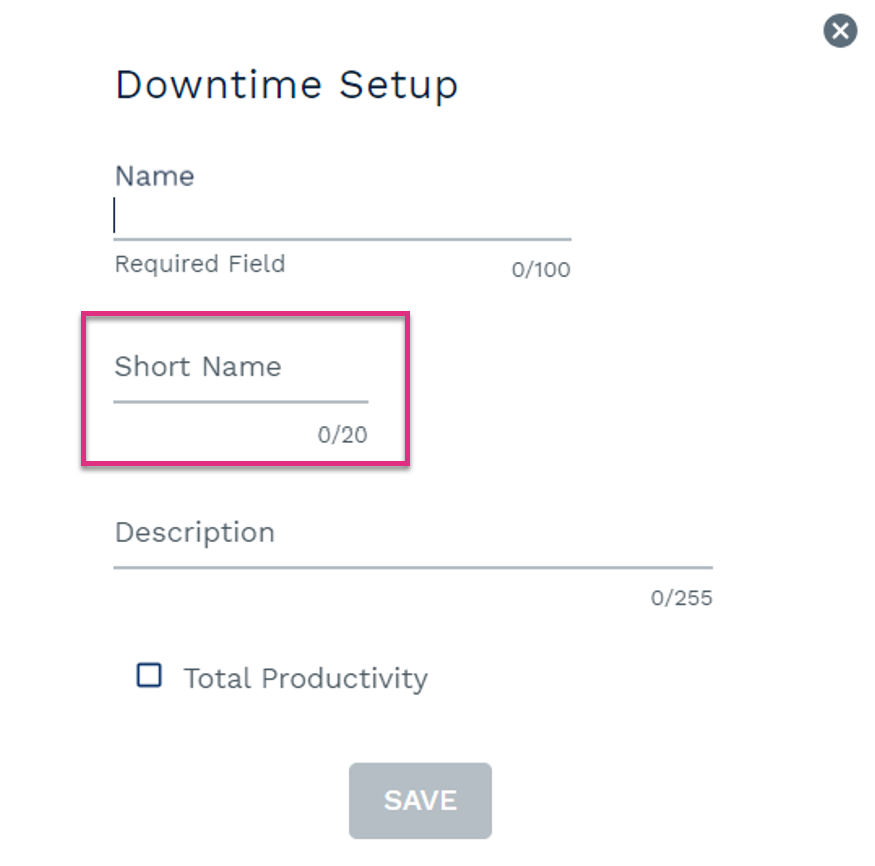
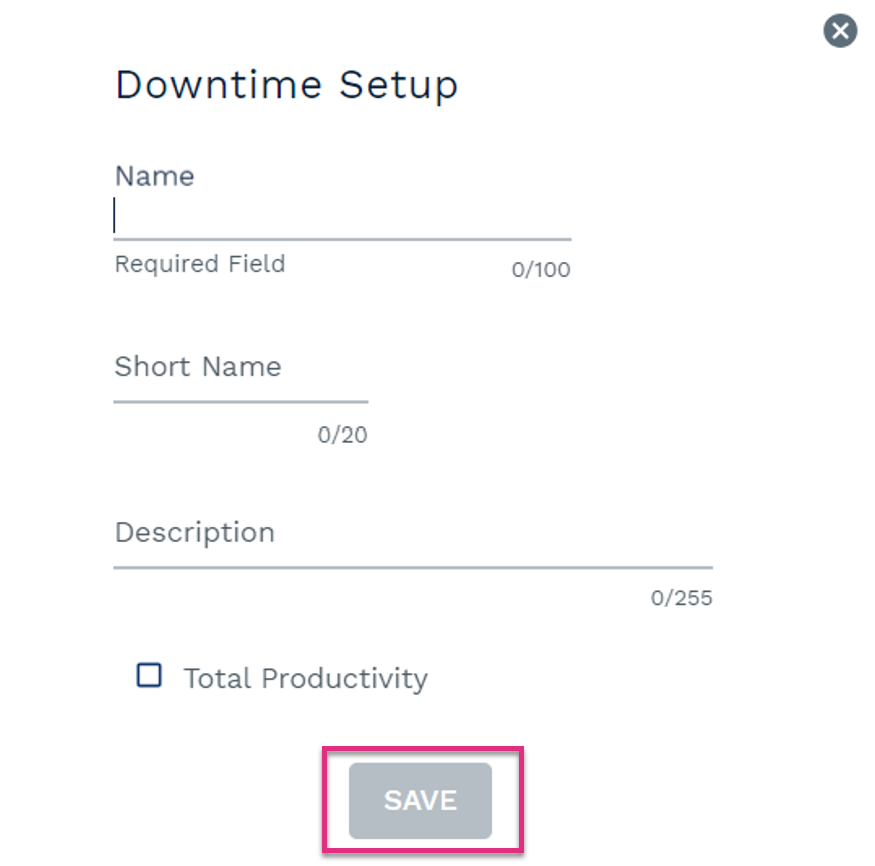
To create a Downtime category, select the  icon next to the Downtime table header. This will prompt the Downtime category setup form to open.
|
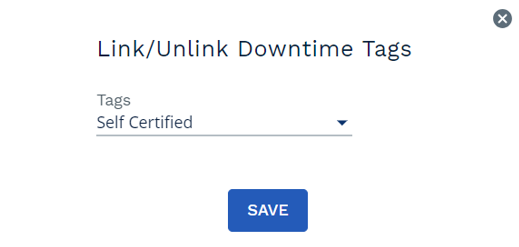
Once you have created a Downtime category you will need to assign it to the workgroups that will be capturing data against it.
Selecting the Downtime to Workgroup link in the Assign section of the Admin screen will allow you to assign or unassign Downtime categories to workgroups.
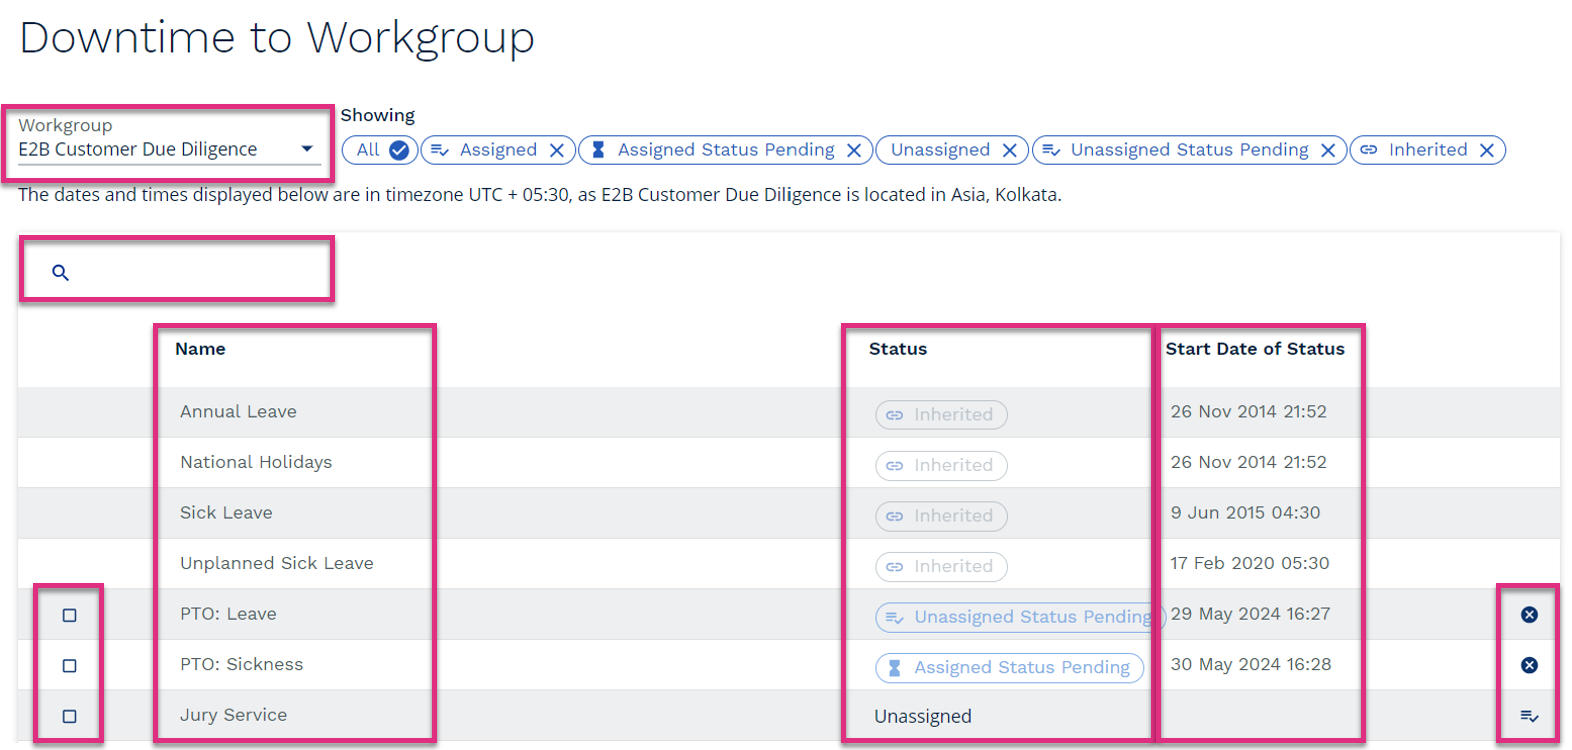
Workgroup Selector
Search
Checkbox
Name
Status
Start Date of Status
|


|
Clicking the
Clicking the |
Within ControliQ National Holidays allow you to set specific dates as non-working days within a workgroup for a day that is classed as working based on the workgroup setup.
When you select the National Holiday link within the Add/View section of the Admin screen you will see a list of all of the National Holidays that have already been created.
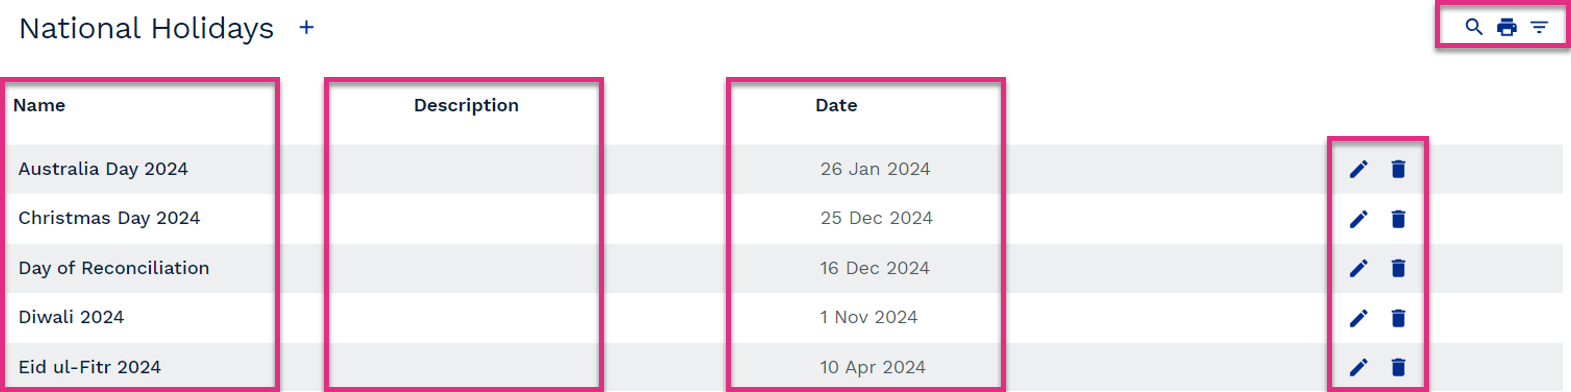
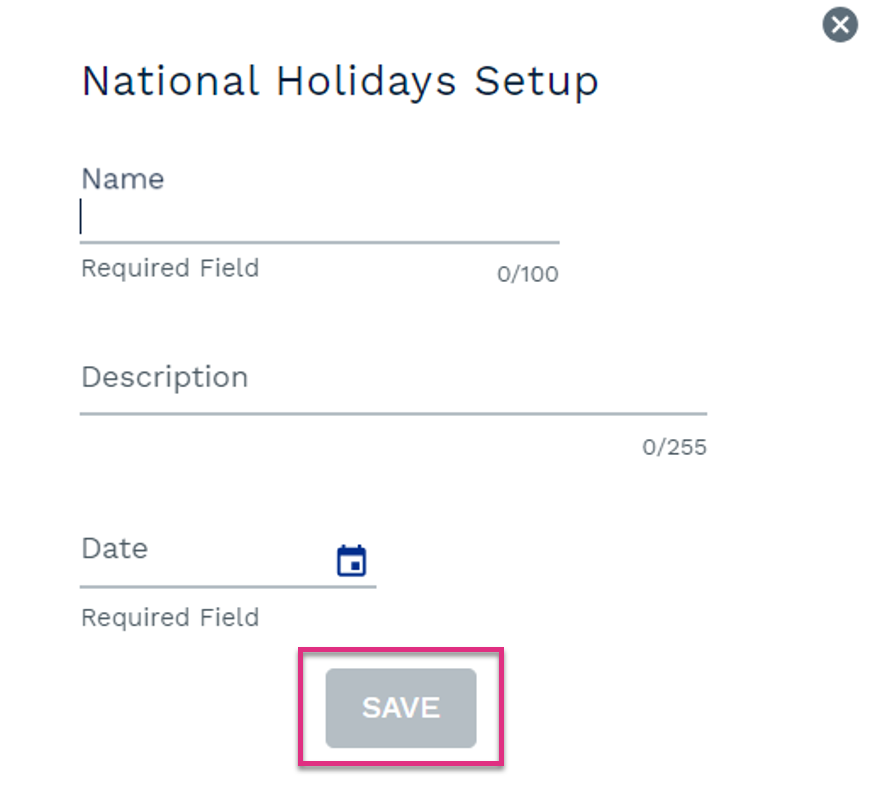
Name
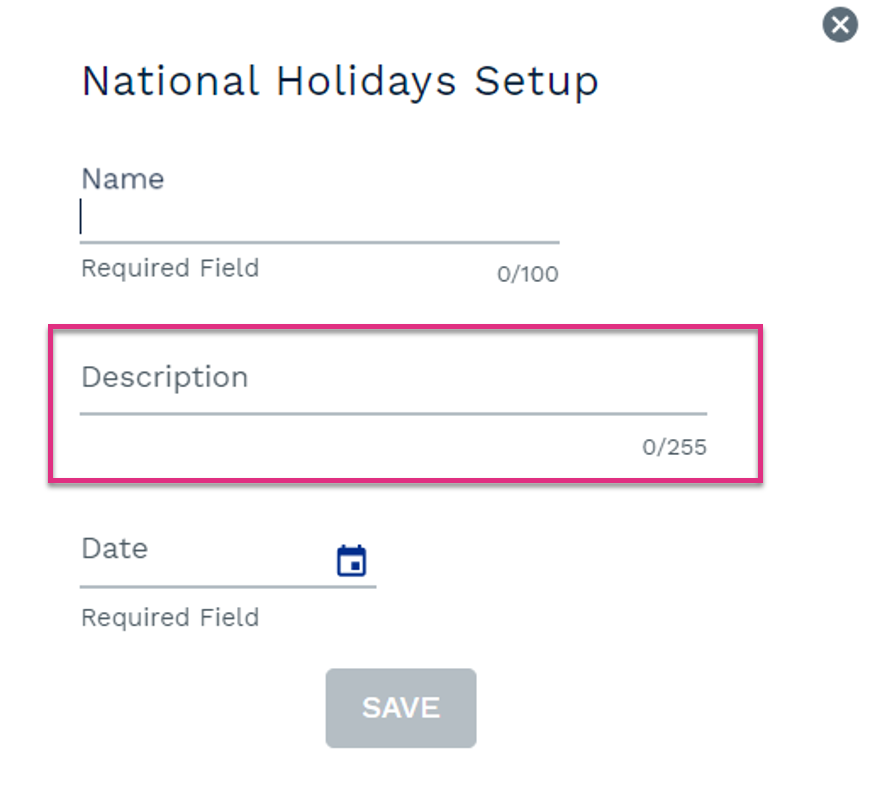
Description
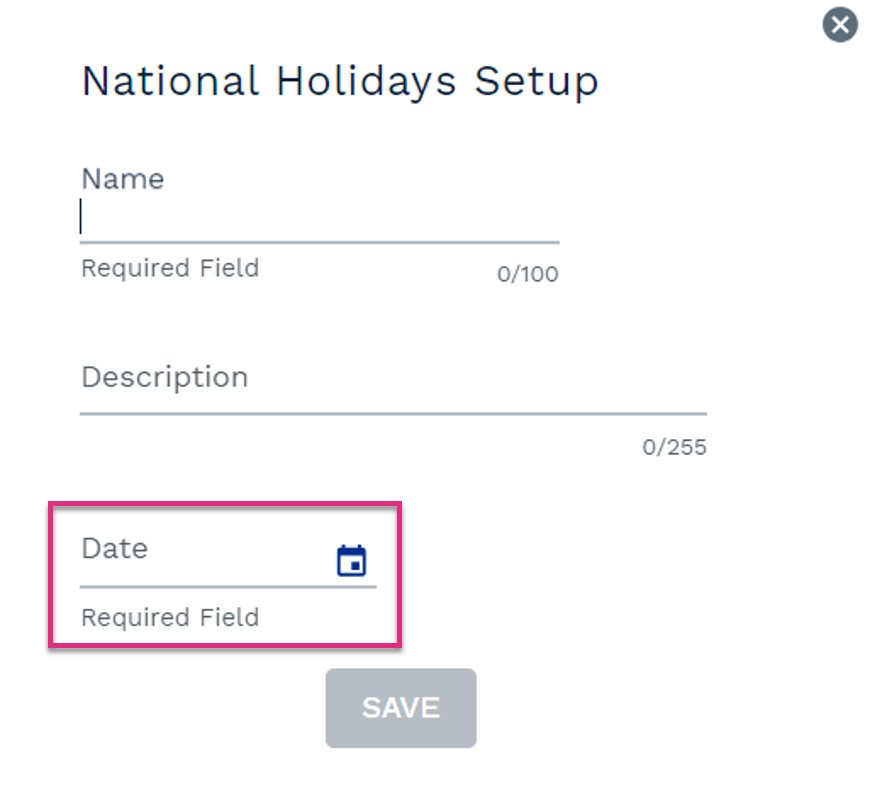
Date
|
|
|
|
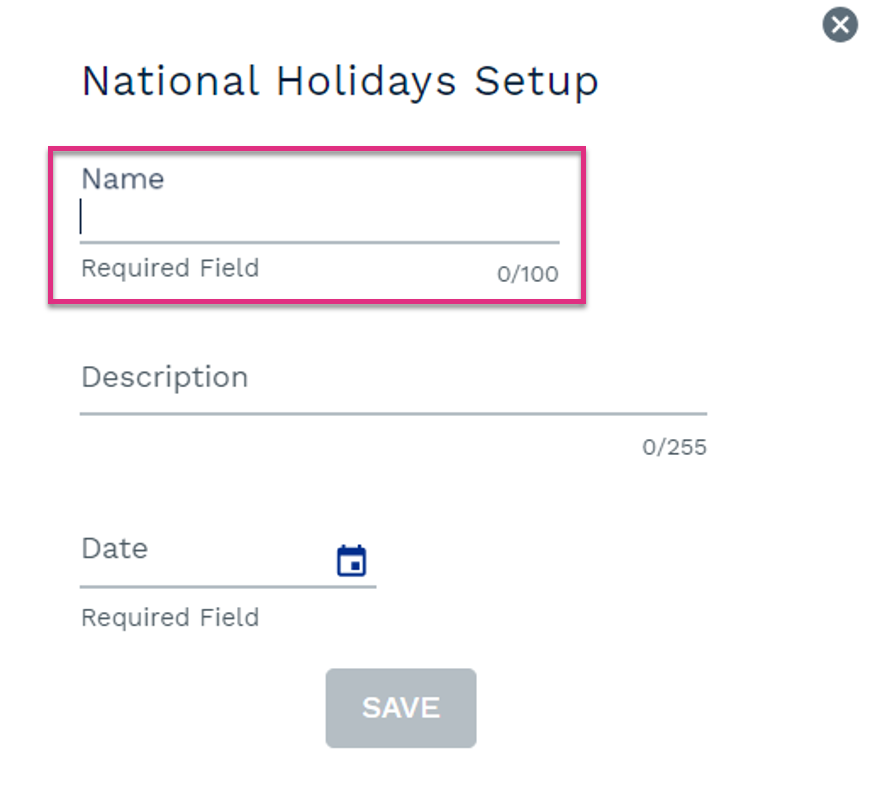
To create a National Holiday, select the icon next to the National Holiday table header. This will prompt the National Holiday setup form to open.
|
Once you have created a National Holiday you will need to assign it to the workgroups that will be capturing data against it.
Selecting the National Holiday to Workgroup link in the Assign section of the Admin screen will allow you to assign or unassign National Holidays to workgroups.
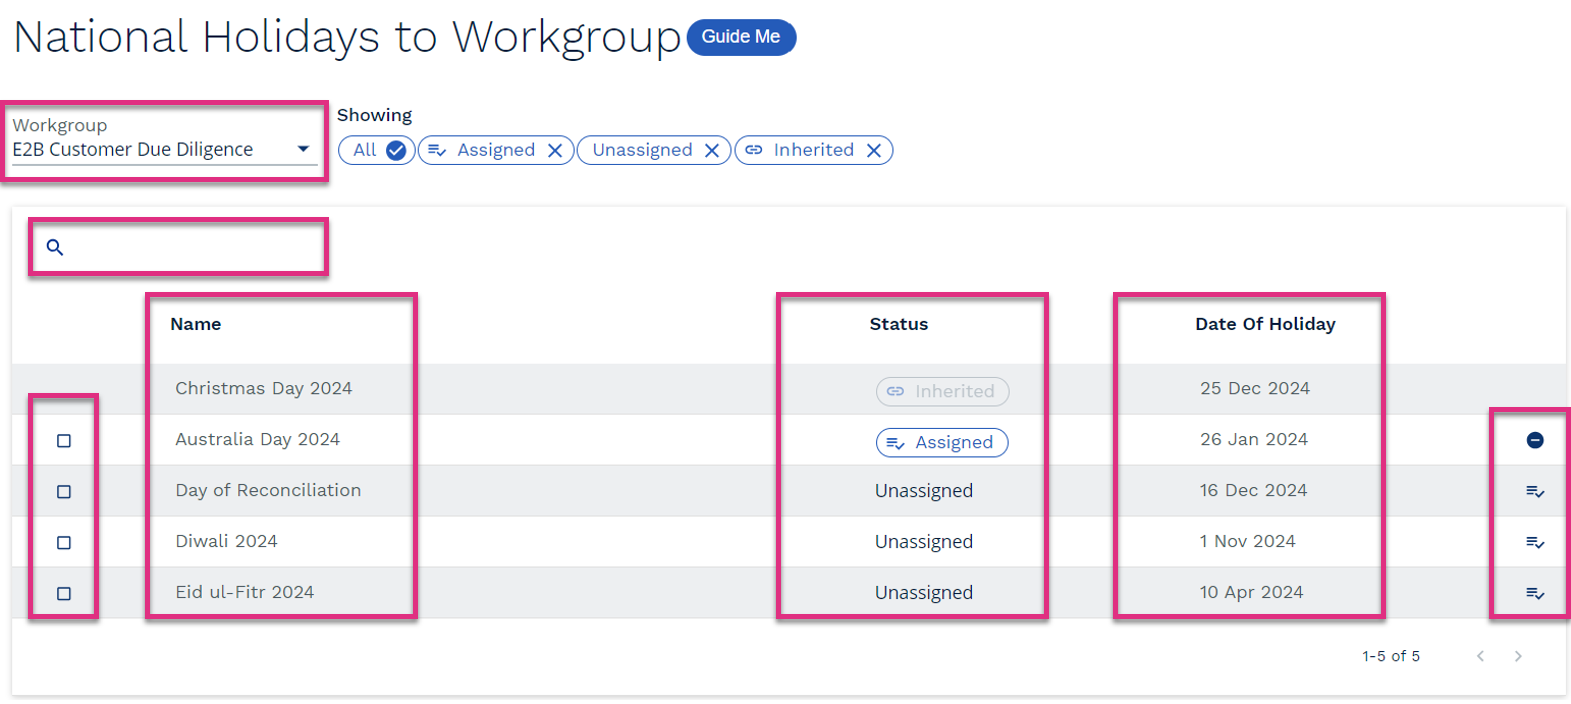
Workgroup
Search
Checkbox
Name
Status
Date of Holiday
|
|
Clicking the
Clicking the |


