Adding and Assigning Staff Members and Users
Within ControliQ a Staff Member is an individual who is setup and linked to a team where they will capture data or have data captured for them relating to their working time and tasks completed.
A User is an individual who needs to access ControliQ, this could be as a staff member to capture data or a manager or analyst who requires access to the reporting or planning functions of ControliQ but does not need to capture data about their working time and tasks completed.
Selecting the Staff Members and Users link in the Add / View section of the Admin screen will display a list of all existing staff members and users.
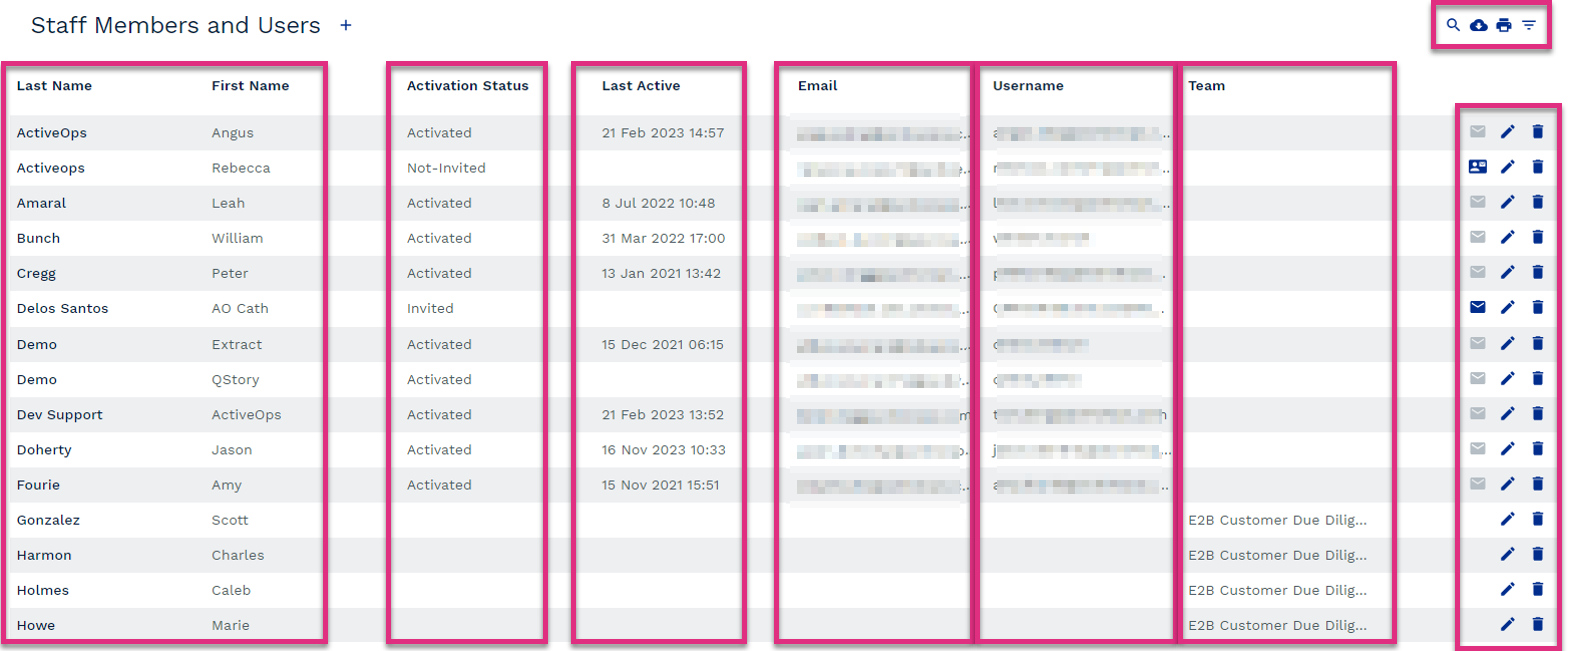
Last Name and First Name
Activation Status
Last Active
Username
Team
|


|


|
To create a Staff Member or User, select the  icon next to the Staff Members and Users table header. This will prompt the Staff Members and Users setup form to open.
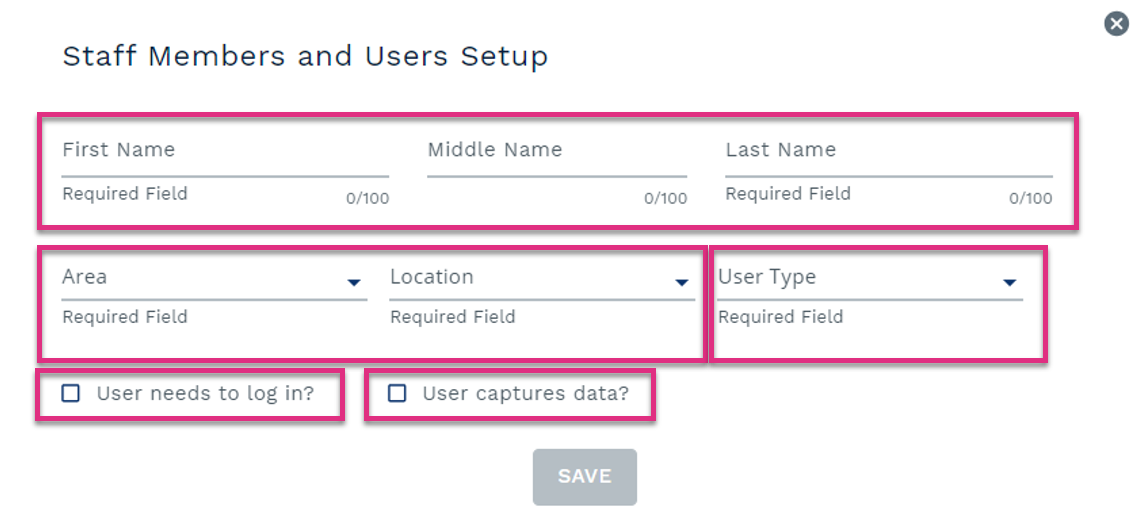
First, Middle and Last Name
Area and Location
User Type
User needs to login?
User captures data?
|
Creating and Assigning Staff Members
If you are creating a Staff Member for whom production data will be captured select the User captures data? Checkbox in the Staff Members and Users Setup form. This will allow you to add further information about the Staff Member.
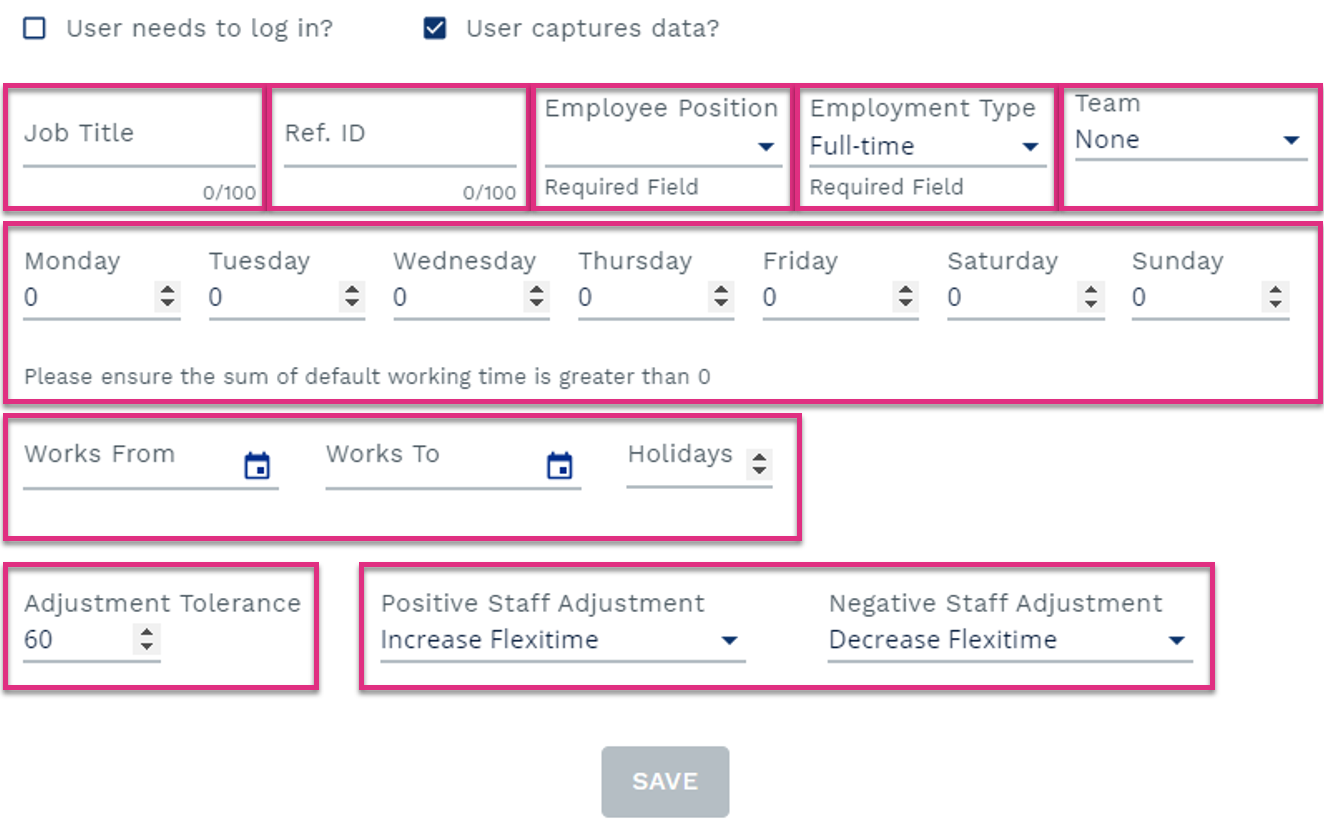
Job Title (Optional)
Ref ID (Optional)
Employee Position (Required)
Employment Type (Required)
Team (Optional)
Default Working Time (Required)
Works From and Works To (Optional)
Adjustment Tolerance (Required)
Positive and Negative Staff Adjustment (Required)
|
Once you have created a Staff Member you need to link them to their team. To do this select the Staff Members to Team link in the Assign section of the Admin screen.
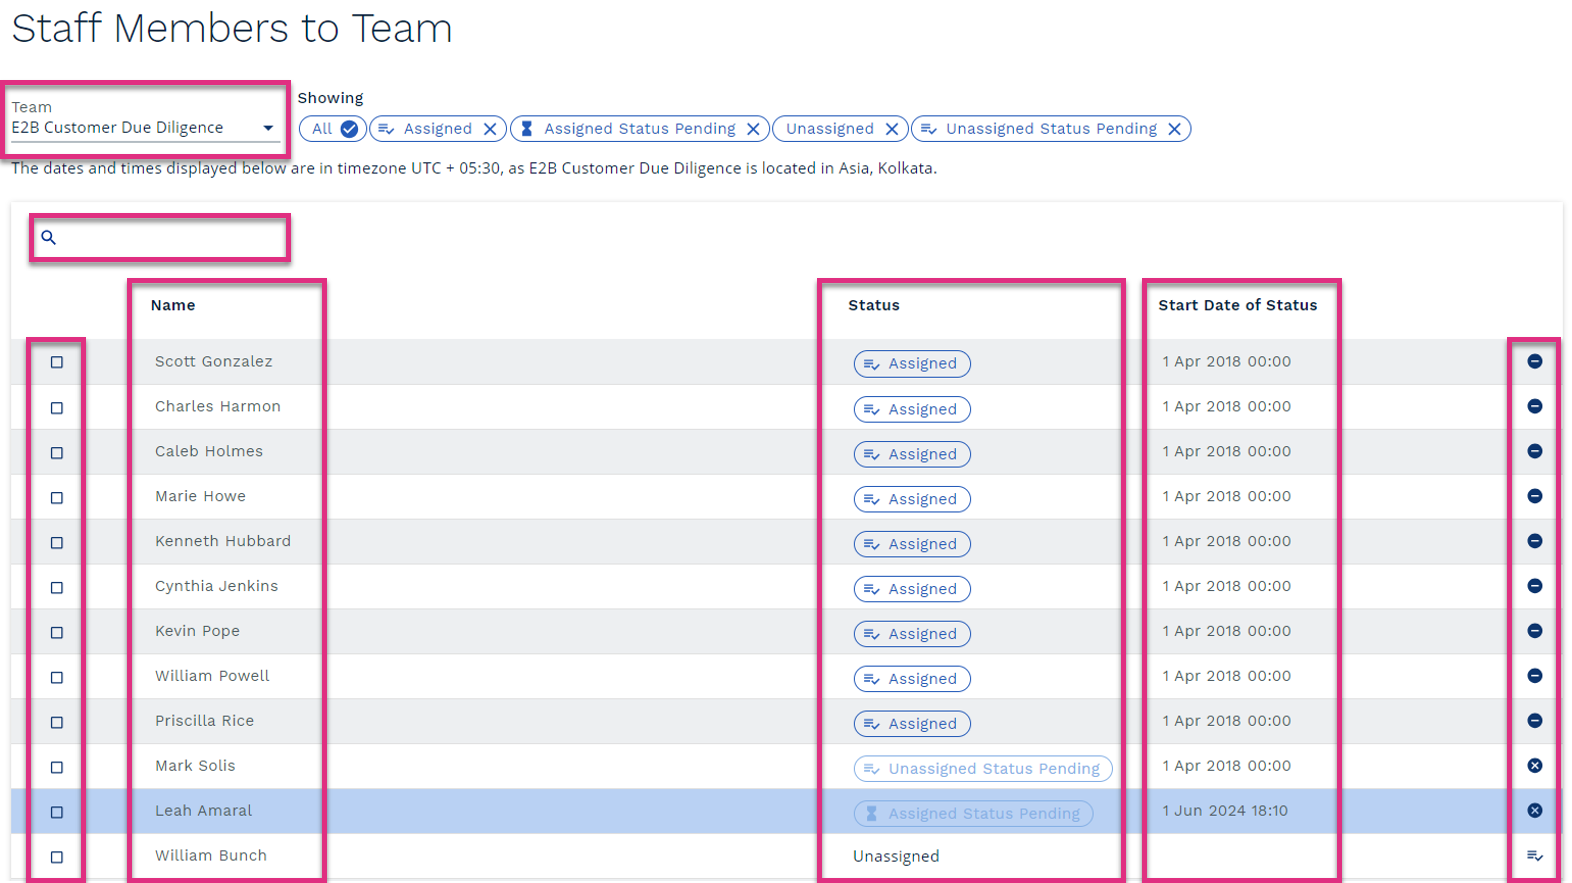
Team
Search
Checkbox
Name
Status
Start Date of Status
|
 next to the Search function.


|
Creating Users
If you are creating a staff member who will need to access ControliQ to capture data or a User who will need access for reporting and planning, you will need to select the ‘User needs to log in?’ checkbox in the Staff Members and Users Setup form. This will allow you to enter account information such as email address and username.
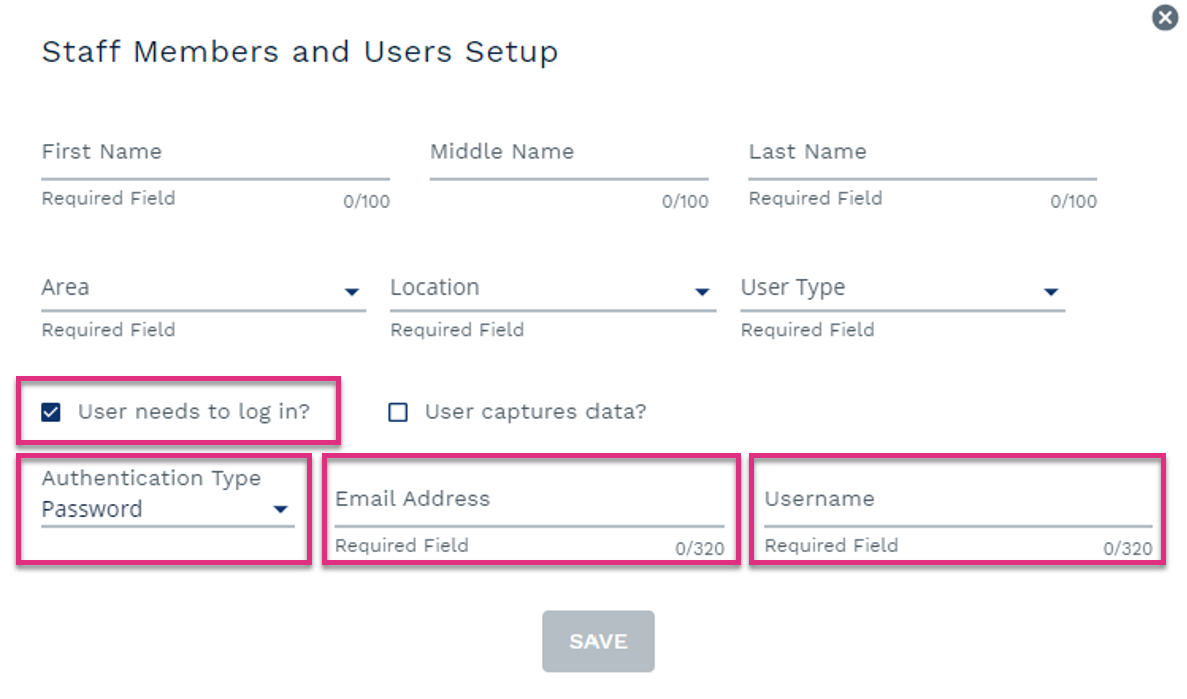
Authentication Type
Email Address
Username
|
Assigning Permissions to Users
Once you have created a User you need to assign permissions to specify the actions they can take and the workgroups they can access when they log into CiQ.
Select the Permissions to User link in the Assign section of the Admin screen.
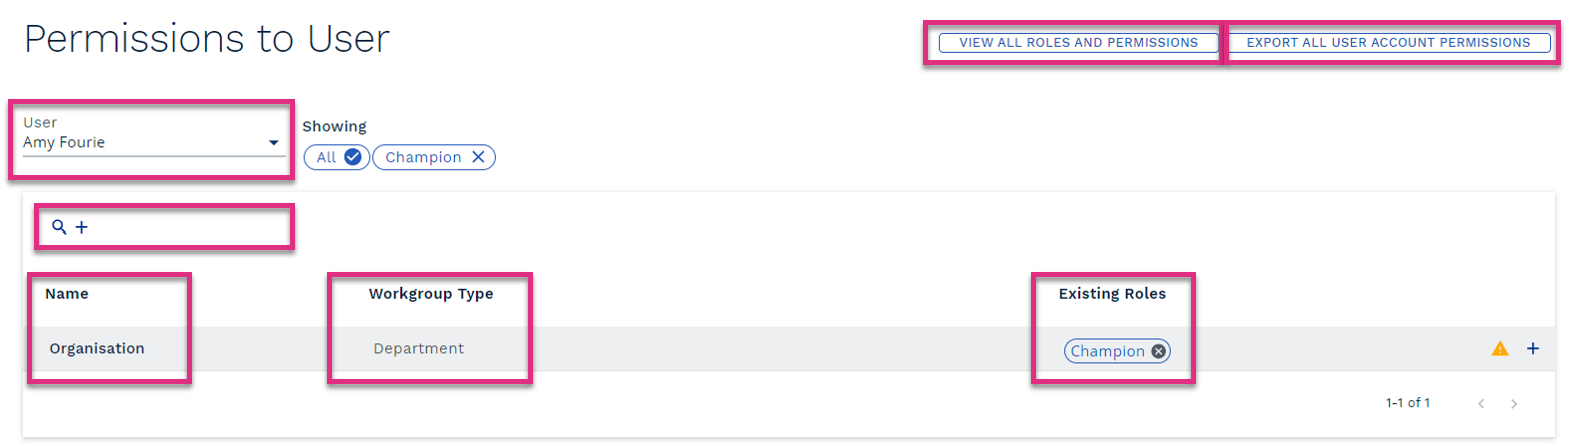
User
Search
Name
Workgroup Type
Existing Roles
View All Roles and Permissions
Export All User Account Permissions
|
||||||||

To assign permissions select the Users name from the drop-down menu, you can refine the list of names displayed by typing a full or partial Username directly into the User field. Once you have selected the User click the button next to the search function.

This will prompt the Add Role dialogue box to open.
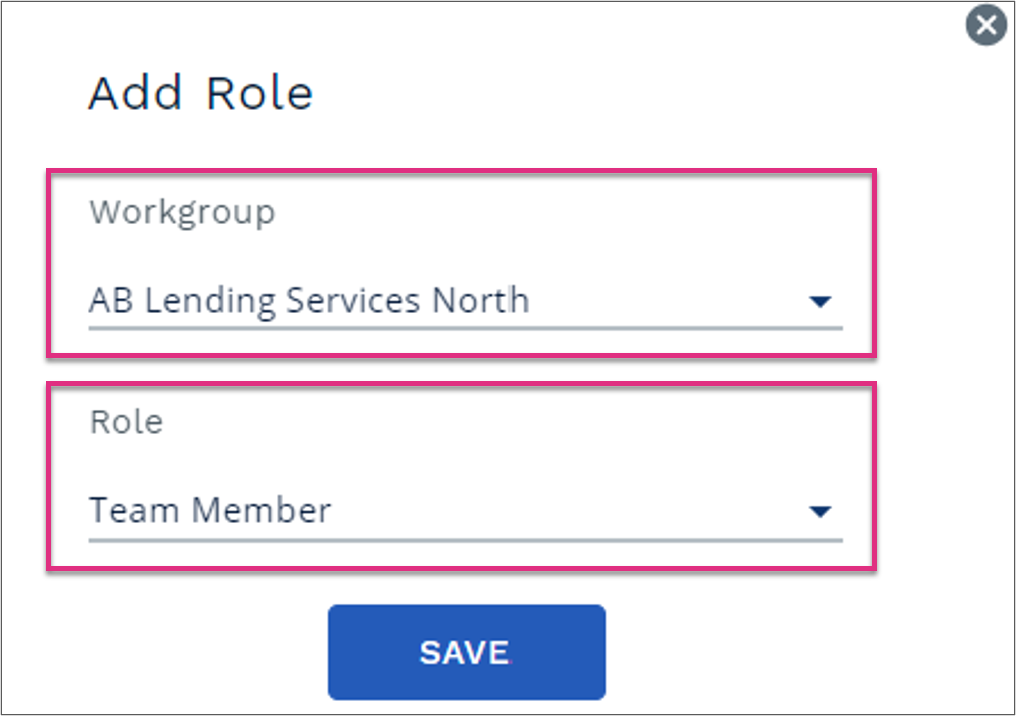
Workgroup
Roles
|
Click Save to apply the selected Role to the User.
Activating Accounts
Once you have assigned Roles to a User you will need to prompt ControliQ to send them an activation email. To do this select the Staff Members and Users link in the Add/View section of the Admin screen.
Users will display one of 4 icons:

|
The account has been activated, no further activation emails are required. |

|
The account has been created and account permissions assigned but no activation email has yet been sent, click the icon to send the email. |

|
The account activation email has been sent but the user has not activated the account, to re-send the activation email click the icon. |

|
The account has been created but no account permissions have been assigned. The account cannot be activated until permissions are assigned. |
To prompt the activation email to be sent to the user for a new account click on the icon.
The User will then receive an email with a link to activate their account.
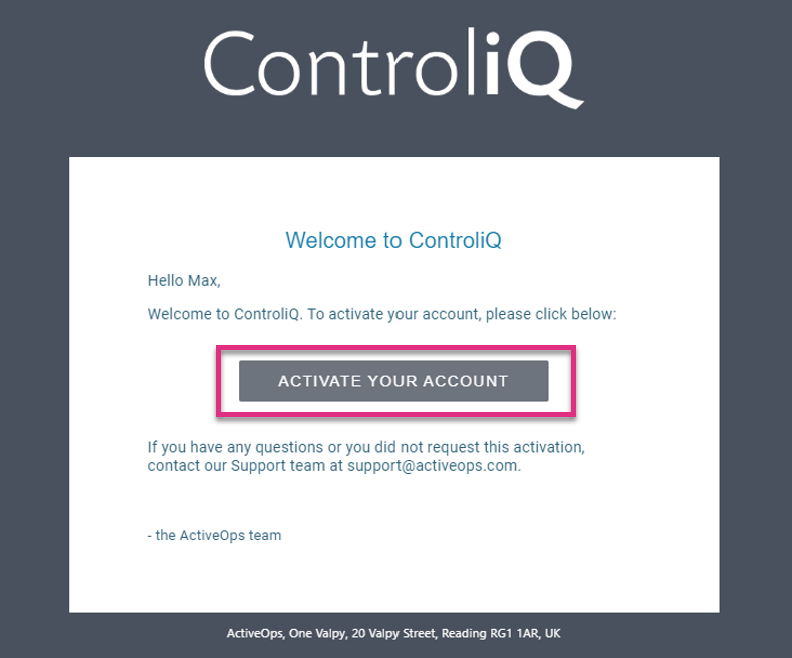
The link will take them to ControliQ where they will need to enter the password that they would like to use for the account.
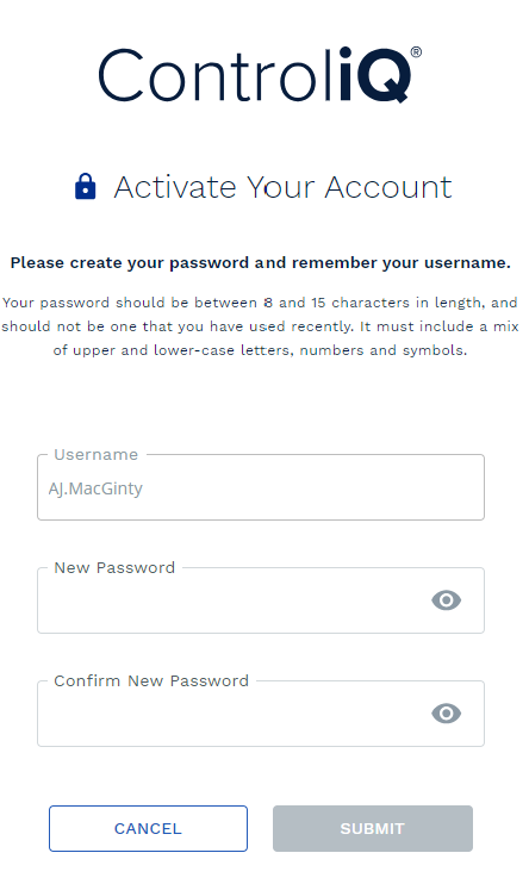
They can then login using their Username entered during User setup and the password they have just specified.


